How To Make Your Food Blog Look Tasty
Hello WeeklyBite readers! You can call me Grace but I respond most often to “MOM!!!” I am a retired naval officer, am married to a retired naval officer, and have two wonderful children who act like naval officers. I run a children’s portraiture and sports photography business as well as an editorial stock photography business. You can read all about my photography adventures here.
First, I’d like to thank Estela for having me on her site as a guest blogger. I’ve also had the pleasure of photographing her while she was cooking up one of her delicious recipes, so I have first-hand knowledge of her techniques in capturing the wonderful food images you see throughout her site.
~~~~~~~~~~~~~~~~~~~~~~~~~~~~~~~~~~~~~~~~~~~~~~~~~~~~~~~~~~~~~~~~~~~~~~~~~~~~~~~~~~~~~~~
If you want to grow your food blog fan club, it is essential for your images to look as tasty as the recipes themselves sound. Estela has combined mouth-watering recipes, excellent cooking instructions, and appealing images to create a blog that people want to visit again and again, and that is the ultimate goal. Return visitors = solid fan base
So what basic techniques should you employ in your food photography? Easy, just use KISS. Here are 5 basic rules to Keep It Simple Savory.
Rule #1 Keep it simple.
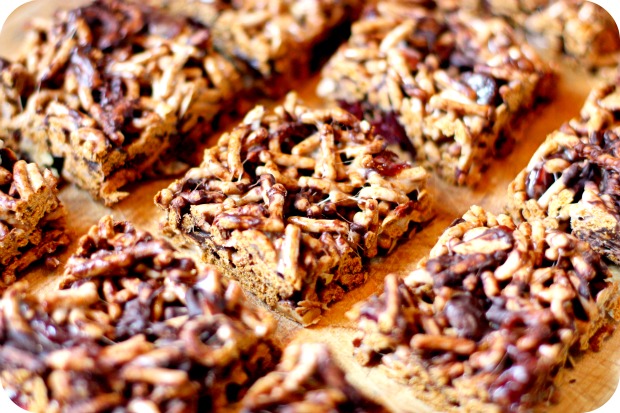
The images are about the food itself and not about the items on the kitchen counter, your kitchen cabinets, or hands holding the cooking utensils. Unless you’re a hand model, keep your hands or fingers out of the picture. To do this, get in close and crop tightly. By filling the frame with the ingredient(s) or final dish you’ll eliminate all the distractions.
Rule #2 Keep your lens wide open.
Even modestly priced digital point and shoot cameras allow the photographer some creative control. I’m talking about one setting in particular, the aperture priority setting, seen as “Av” or “A” on your camera’s main control dial. Set it to “Av”, open the lens as wide as possible – f/2.8 or f/4.0 or if your camera allows it, as wide as f/1.4 . The lower the number, the wider the aperture (the baffles inside the lens) opens up. This will give your images with a narrow focal point accompanied by pleasing bokeh for the rest of the image. Bokeh is a fancy Japanese word for the blurry or out-of-focus part of the picture. Set your camera to it’s widest setting f/1.4 or f/2.8 and experiment until you get a pleasing image that suits your taste or suits the food you are trying to photograph. The camera will automatically dial in the remaining settings for you. If you don’t have “Av” or “A” setting, try using the portrait setting which is usually indicated by an icon of a person’s side profile view.
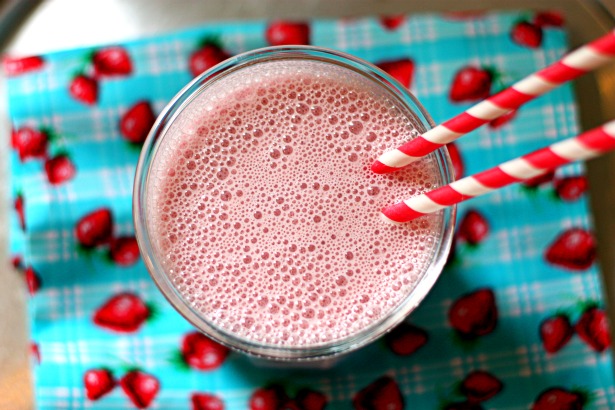
You can’t help but look at the froth on this milkshake. The background material compliments the color of the milkshake but doesn’t distract from the focal point since it is pleasingly out-of-focus. The straws lead your eyes down to the drink. Don’t you just want to drink it up right out of the picture?
Rule #3 Keep the food in natural light.
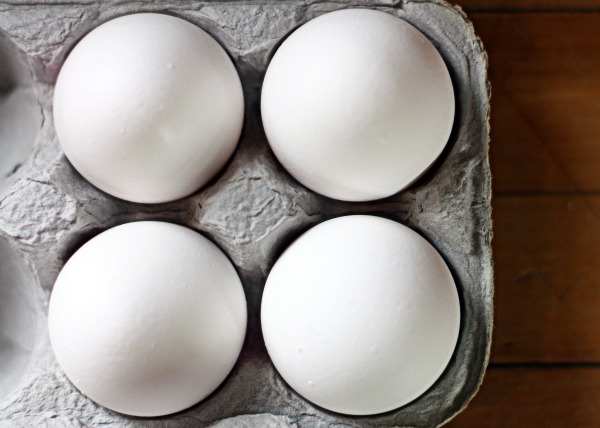 Unless it’s absolutely necessary, complete power outage with no moon visible, or you’re a professional food stylist and photographer, turn off that pop-up flash! Estela is a master at this. Not once while I was watching her photograph the food and ingredients did she use the pop-up flash.
Estela has a window that casts a soothing fill light from behind and slightly to the side of her food prep area which helps accentuate the texture of the ingredient she is using. Overhead light, although slightly warmer than the daylight streaming in, just adds color to her images.
The light sweeping from the back left adds shape and texture to these eggs.
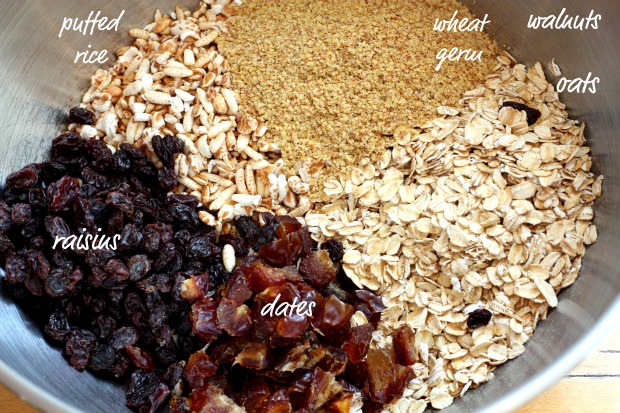
Natural lighting allows you to see and almost feel the texture of each of these ingredients.
Rule #4 Keep it off center and use shapes to enhance visual interest.
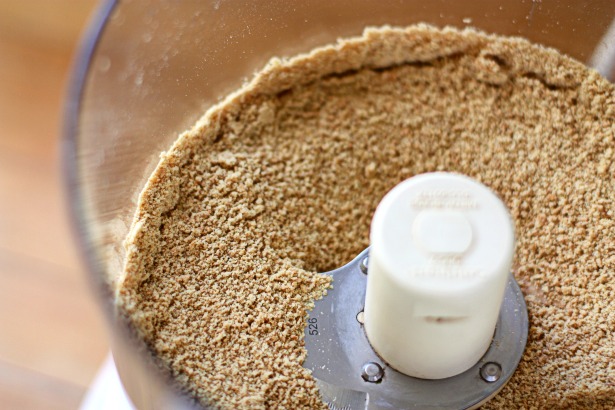 Split the camera viewfinder into thirds horizontally and vertically and place the focal point of the image in one of the four corners where the lines intersect.
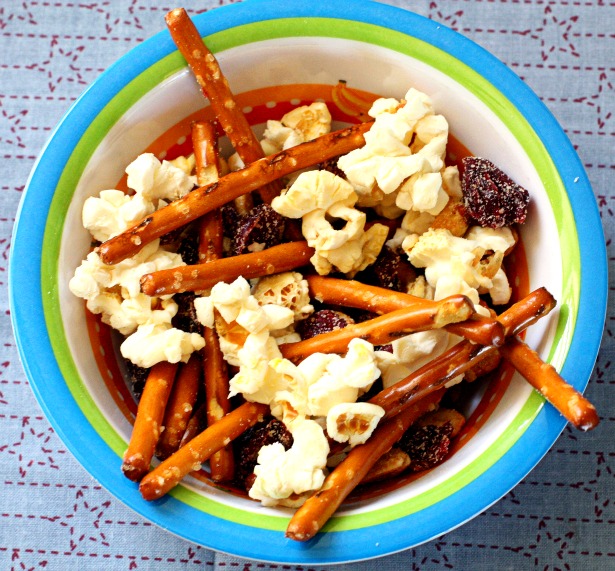
Rule #5 Keep it colorful- nothing says yummy more than color.
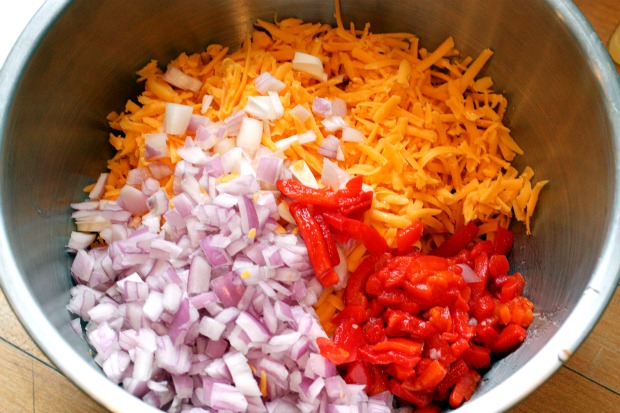
Who doesn’t look at a bright red strawberry, a fresh green apple or a colorful leafy salad and immediately think healthy and tasty?
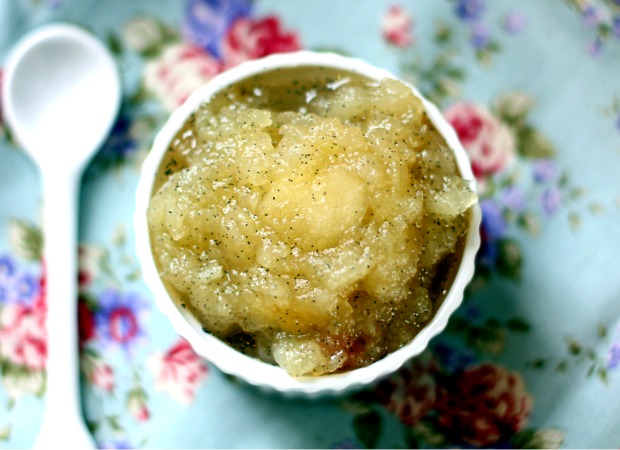
Add color if there is none. Estela has a collection of small fabric remnants that she uses under the bowls, plates, and ingredients to add color to an otherwise dull colored dish or set of ingredients.
This applesauce is naturally monochromatic. Here she adds visual interest with a flowery fabric swatch beneath adding a classic appeal to an otherwise bland photo.
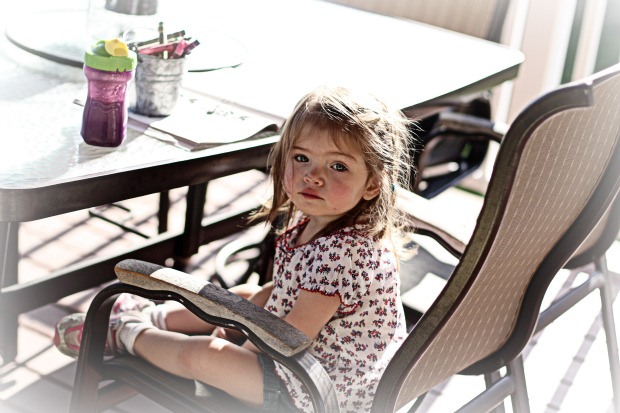
That’s it! Five simple ingredients to enhance your food imagery. You don’t need a fancy-shmancy camera to put these rules into effect. Follow even one or two of these and you’ll see marked improvement in your food photography and you can apply them to anything else you may want to photograph, even children. Estela applies these as well when taking pictures of M but it’s impossible to take a bad photograph of M even on a bad hair day.



Thanks for the tips Grace! I believe a nice background is key!
Great tips! Thank you. 🙂
Great tips! I will have to check to see if my dSLR has an A or Av setting. I usually use the no-flash setting and shoot til I get something I like. 🙂 Natural light is my best friend…and with the warmer weather, I hope to have improved photos! I should pick-up some swatches of fabric to use in shoots, though. Great idea!
Thanks guys!! It was an easy post to write since I was able to use Estela’s wonderful images. I think the link may be broken to my website, graceprotzman.com and digitalgraces.com. @teenage taste – agree completely. @nicole – definitely should have Av if it’s a DSLR – canon or nikon?
It was a tasty blog indeed, the photos were really great that it makes me hungry and interested to read more./
great tips!!!
Great great tips! I’m trying to improve my (very basic) photography skills so I love reading easy to understand tips like this 🙂 Thanks!
These are some fantastic tips! I wish I had so much more natural light in my apartment. How do you feel about using a photo box?
Thank you Grace!! The tip about the AV was particularly helpful to me. Just made a sticky note with a few of your tips (on AV settings) on it to take along next time I’m ready to photograph something.
Thank you for sharing, Grace! It’s always nice to get someone else’s perspective and thoughts on photos. We can’t all have pictures of M beautifying our posts 🙂
@Lauren. Most definitely. If you don’t have access to natural light, a photobox is ideal. It gets the flash off lens axis at an angle and diffuses the harsh strobe effect which can create deep shadows. You would obviously need a flash you can sync off-camera so for the novice photographer, this would be a little more advanced. Here’s a link for a DIY photobox if you have a limited budget. http://strobist.blogspot.com/2006/07/how-to-diy-10-macro-photo-studio.html . You would need to make the photobox big enough to hold your ingredients, meal, or dish. I have seen photoboxes go for as little as $50.
@Lynn and Bianca, Thank you!
@Mary, I do that too. The one I always have on there during a photo shoot…. “Check your settings!” I’ll set it for a particular lighting condition then forget to recheck.
Great post! Love these tips. Estella- do you use a macro lense? I currently use a kit lense but am considering an upgrade…thoughts?
Great post! I always love photography tips!
Thank you for the great post! I definetly need to put more thought into my photos. I quickly snap and use what I have on hand to make the photo look as good as possible. I will be keeping your suggestions in mind!
@Lauren. Most definitely. If you don’t have access to natural light, a photobox is ideal. It gets the flash off lens axis at an angle and diffuses the harsh strobe effect which can create deep shadows. You would obviously need a flash you can sync off-camera. For the novice photographer, this would be a little more advanced. I can send you a link found at strobist.blogspot.com written by David Hobby for a DIY photobox if you have a limited budget. I follow him for all things flash/strobe related. You would need to make the photobox big enough to hold your ingredients, meal, or dish. I have seen photoboxes go for as little as $50.
@Lynn, Bianca, Serena, & Melody, thank you!
@Jen, I can answer your question since I asked Estela the same one. She has a 50mm 1.4 lens. A macro lens is not necessary if you’re photographing similar images and from the looks of your site, you are. A macro lens would be necessary if you’re looking to magnify the fine details of your ingredients (i.e. the fine details of the flesh and pulp on a fresh cut lemon or lime, close-up images of nuts and herbs). If you have a kit lens, then it is most likely a zoom lens that goes from approx. 18-55mm? Buy a good fixed focal length lens. In Estela’s case, she has a 50mm that opens up to a wide f/1.4. Typically a fixed focal length lens will produce sharper details in the areas that are in focus and a pleasing bokeh in the areas that are out-of-focus. The only drawback is that you have to physically move the camera closer or further away from the object you are photographing to “zoom in” or “zoom out” .
@Mary, I do that too. The one I always have on there during a photo shoot…. “Check your settings!” I’ll set it for a particular lighting condition then forget to recheck.
@Natalia and to anyone else I may have missed, thank you!! : )
Grace and Estela I LOVE this post. That applesauce shot is amazing! The color and vibrancy of these photos are so happy. M is precious Great pointers 🙂
Fabulous post!!! Thank you for all the wonderful tips and photos for visual aid! =)