How To Make Your Food Blog Look Tasty
Hi There 🙂
One of the questions I get asked the most is what type of camera I use to take my blog pictures and what photo editing software I use.
I shoot with a Canon Rebel xSi and most of my pics are shot with a 50mm f1.4 lens. All of my photo editing is done with either picnik or iphoto. I’ve had this camera for a couple of years now and am very happy with it. I am by no means an expert in photography and view my photo taking skills as an ongoing process. To help answer your photography questions, I thought I’d repost this guest post that Grace wrote for me back in April. She is a professional photographer and is the perfect person to answer your questions. Enjoy 🙂
Hello WeeklyBite readers! You can call me Grace but I respond most often to “MOM!!!” I am a retired naval officer, am married to a retired naval officer, and have two wonderful children who act like naval officers. I run a children’s portraiture and sports photography business as well as an editorial stock photography business. You can read all about my photography adventures here.
First, I’d like to thank Estela for having me on her site as a guest blogger. I’ve also had the pleasure of photographing her while she was cooking up one of her delicious recipes, so I have first-hand knowledge of her techniques in capturing the wonderful food images you see throughout her site.
~~~~~~~~~~~~~~~~~~~~~~~~~~~~~~~~~~~~~~~~~~~~~~~~~~~~~~~~~~~~~~~~~~~~~~~~~~~~~~~~~~~~~~~
If you want to grow your food blog fan club, it is essential for your images to look as tasty as the recipes themselves sound. Estela has combined mouth-watering recipes, excellent cooking instructions, and appealing images to create a blog that people want to visit again and again, and that is the ultimate goal. Return visitors = solid fan base
So what basic techniques should you employ in your food photography? Easy, just use KISS. Here are 5 basic rules to Keep It Simple Savory.
Rule #1 Keep it simple.
The images are about the food itself and not about the items on the kitchen counter, your kitchen cabinets, or hands holding the cooking utensils. Unless you’re a hand model, keep your hands or fingers out of the picture. To do this, get in close and crop tightly. By filling the frame with the ingredient(s) or final dish you’ll eliminate all the distractions.
Rule #2 Keep your lens wide open.
Even modestly priced digital point and shoot cameras allow the photographer some creative control. I’m talking about one setting in particular, the aperture priority setting, seen as “Av” or “A” on your camera’s main control dial. Set it to “Av”, open the lens as wide as possible – f/2.8 or f/4.0 or if your camera allows it, as wide as f/1.4 . The lower the number, the wider the aperture (the baffles inside the lens) opens up. This will give your images with a narrow focal point accompanied by pleasing bokeh for the rest of the image. Bokeh is a fancy Japanese word for the blurry or out-of-focus part of the picture. Set your camera to it’s widest setting f/1.4 or f/2.8 and experiment until you get a pleasing image that suits your taste or suits the food you are trying to photograph. The camera will automatically dial in the remaining settings for you. If you don’t have “Av” or “A” setting, try using the portrait setting which is usually indicated by an icon of a person’s side profile view.
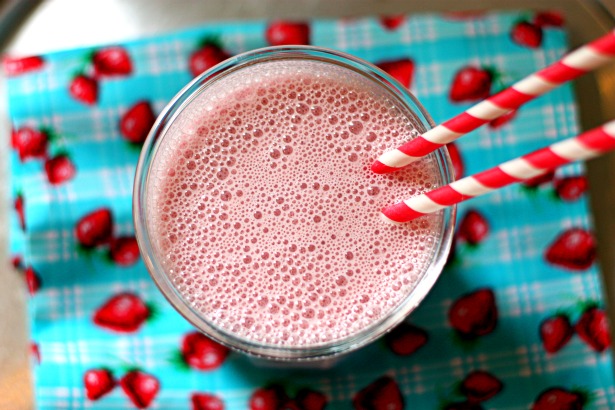
You can’t help but look at the froth on this milkshake. The background material compliments the color of the milkshake but doesn’t distract from the focal point since it is pleasingly out-of-focus. The straws lead your eyes down to the drink. Don’t you just want to drink it up right out of the picture?
Rule #3 Keep the food in natural light.
 Unless it’s absolutely necessary, complete power outage with no moon visible, or you’re a professional food stylist and photographer, turn off that pop-up flash! Estela is a master at this. Not once while I was watching her photograph the food and ingredients did she use the pop-up flash.
Estela has a window that casts a soothing fill light from behind and slightly to the side of her food prep area which helps accentuate the texture of the ingredient she is using. Overhead light, although slightly warmer than the daylight streaming in, just adds color to her images.
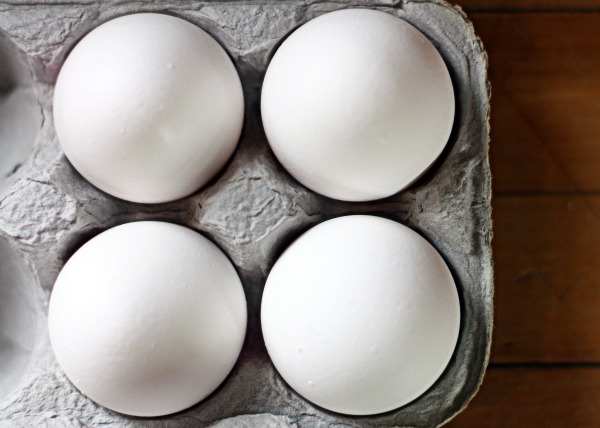
The light sweeping from the back left adds shape and texture to these eggs.
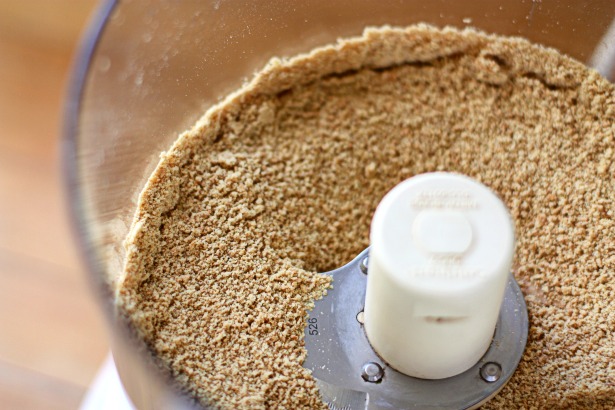
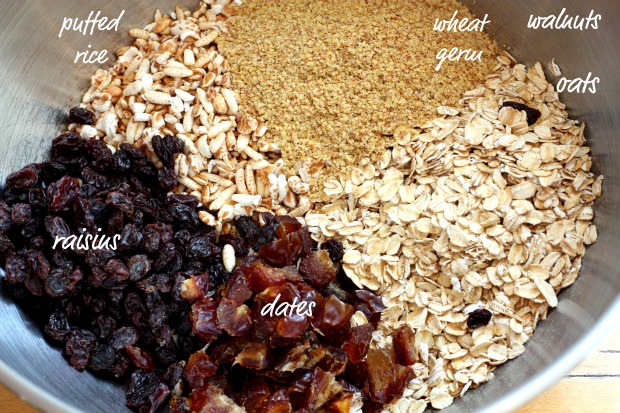
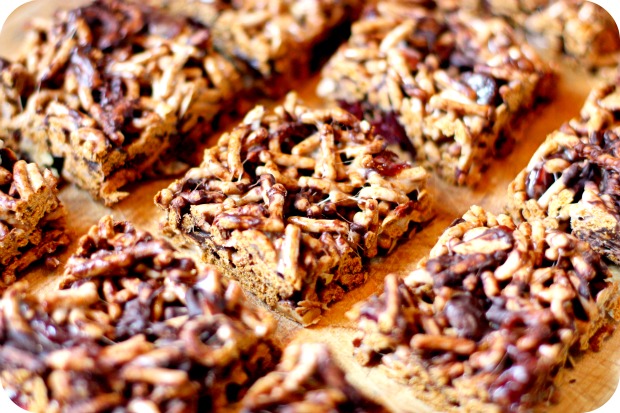
Natural lighting allows you to see and almost feel the texture of each of these ingredients.
Rule #4 Keep it off center and use shapes to enhance visual interest.
 Split the camera viewfinder into thirds horizontally and vertically and place the focal point of the image in one of the four corners where the lines intersect.
Rule #5 Keep it colorful- nothing says yummy more than color.
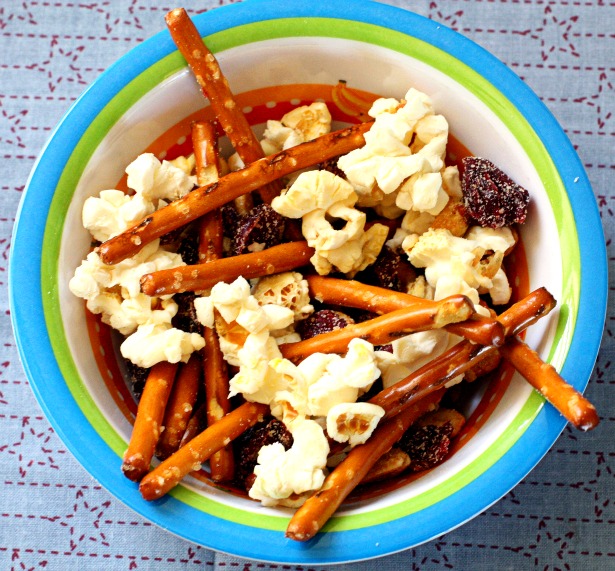
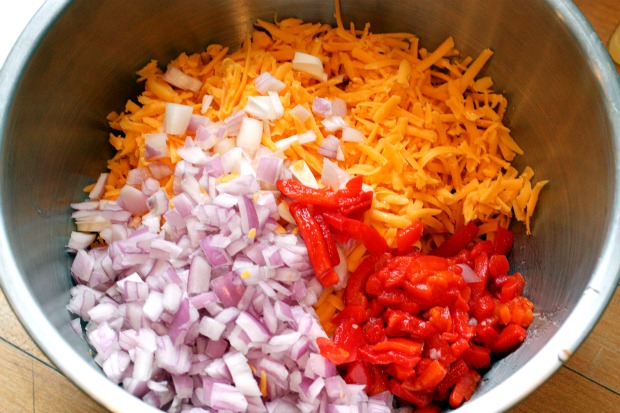
Who doesn’t look at a bright red strawberry, a fresh green apple or a colorful leafy salad and immediately think healthy and tasty?
Add color if there is none. Estela has a collection of small fabric remnants that she uses under the bowls, plates, and ingredients to add color to an otherwise dull colored dish or set of ingredients.
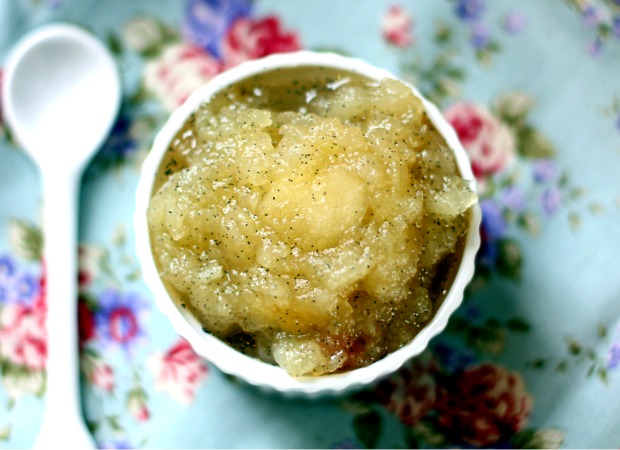
This applesauce is naturally monochromatic. Here she adds visual interest with a flowery fabric swatch beneath adding a classic appeal to an otherwise bland photo.
That’s it! Five simple ingredients to enhance your food imagery. You don’t need a fancy-shmancy camera to put these rules into effect. Follow even one or two of these and you’ll see marked improvement in your food photography and you can apply them to anything else you may want to photograph, even children. Estela applies these as well when taking pictures of M but it’s impossible to take a bad photograph of M even on a bad hair day.






Great tips and post!
Ok so you shoot with a rebel and a 50 mm f/1.4 and you shoot that wide open? I am impressed.
I shoot with a Canon 5D Mark II and usually my 24-70 mm f/2.8 but I never open it to a 2.8 b/c things are just too…blurry. Not bokeh, blur 🙂 Around a 3.5 to 5.0 is my happy zone.
I also have a 50 mm 1.8, i.e. the nifty fifty. I really don’t love it and have wondered if I should buy the 1.4 Seems kinda underwhelming to be shooting with a nifty fifty on a 5D, too. Like I am missing potential.
I also shoot RAW and in Manual. I have been wanting that one-stop shopping PRIME lens for food, rather than a zoom lens but don’t know if that’s a 50mm, a 35mm, or what. I could talk about this..forever.
Thank you for this great post and would love to hear your thoughts..either of you ladies!
Awesome tips!! Thanks so much.:)
I always like to read photography tips (Lord knows I need them!) so thank you. I use an Olympus E520 which I got way before I was blogging or taking food pictures and even though I’ve had the camera a while, I still haven’t figured out how to change all the settings. I learn a tiny bit at a time! Thanks again for the tips. 🙂
Great, great tips. I recently bought a Canon Rebel T3 and I’m still trying to figure it out and improve my photography skills, so this post is extremely helpful. Thank you!
Thank you so much this post! Very helpful!
This was so helpful! 🙂